This time, I had about an hour and a half's notice that I was going to need one extra junior quilt, for a grand-child who would be sleeping on a cot bed mattress on the floor. Last year's quilt was much too small for her and was to be 'demoted' to the smaller cot mattress for her sister. It had been agreed that their other grandfather would be staying over at ours, as well as the rest of the gang, which meant everyone needed to move round a bed - musical beds. I did actually know about this, but in all the rush to get ready for having a houseful, it had slipped my mind, and it was only my daughter's timely reminder that saved the day.

Luckily, I had some left over pieces of wadding (not one nice easy big piece, so I had to piece it and tack it loosely together) and a couple of pieces of cotton fabric I had bought some time ago. I had actually bought them with the idea of making a small quilt, but we'd managed without it, so far, and I'd been wondering whether to use the fabric to make clothing. Just as well I hadn't.
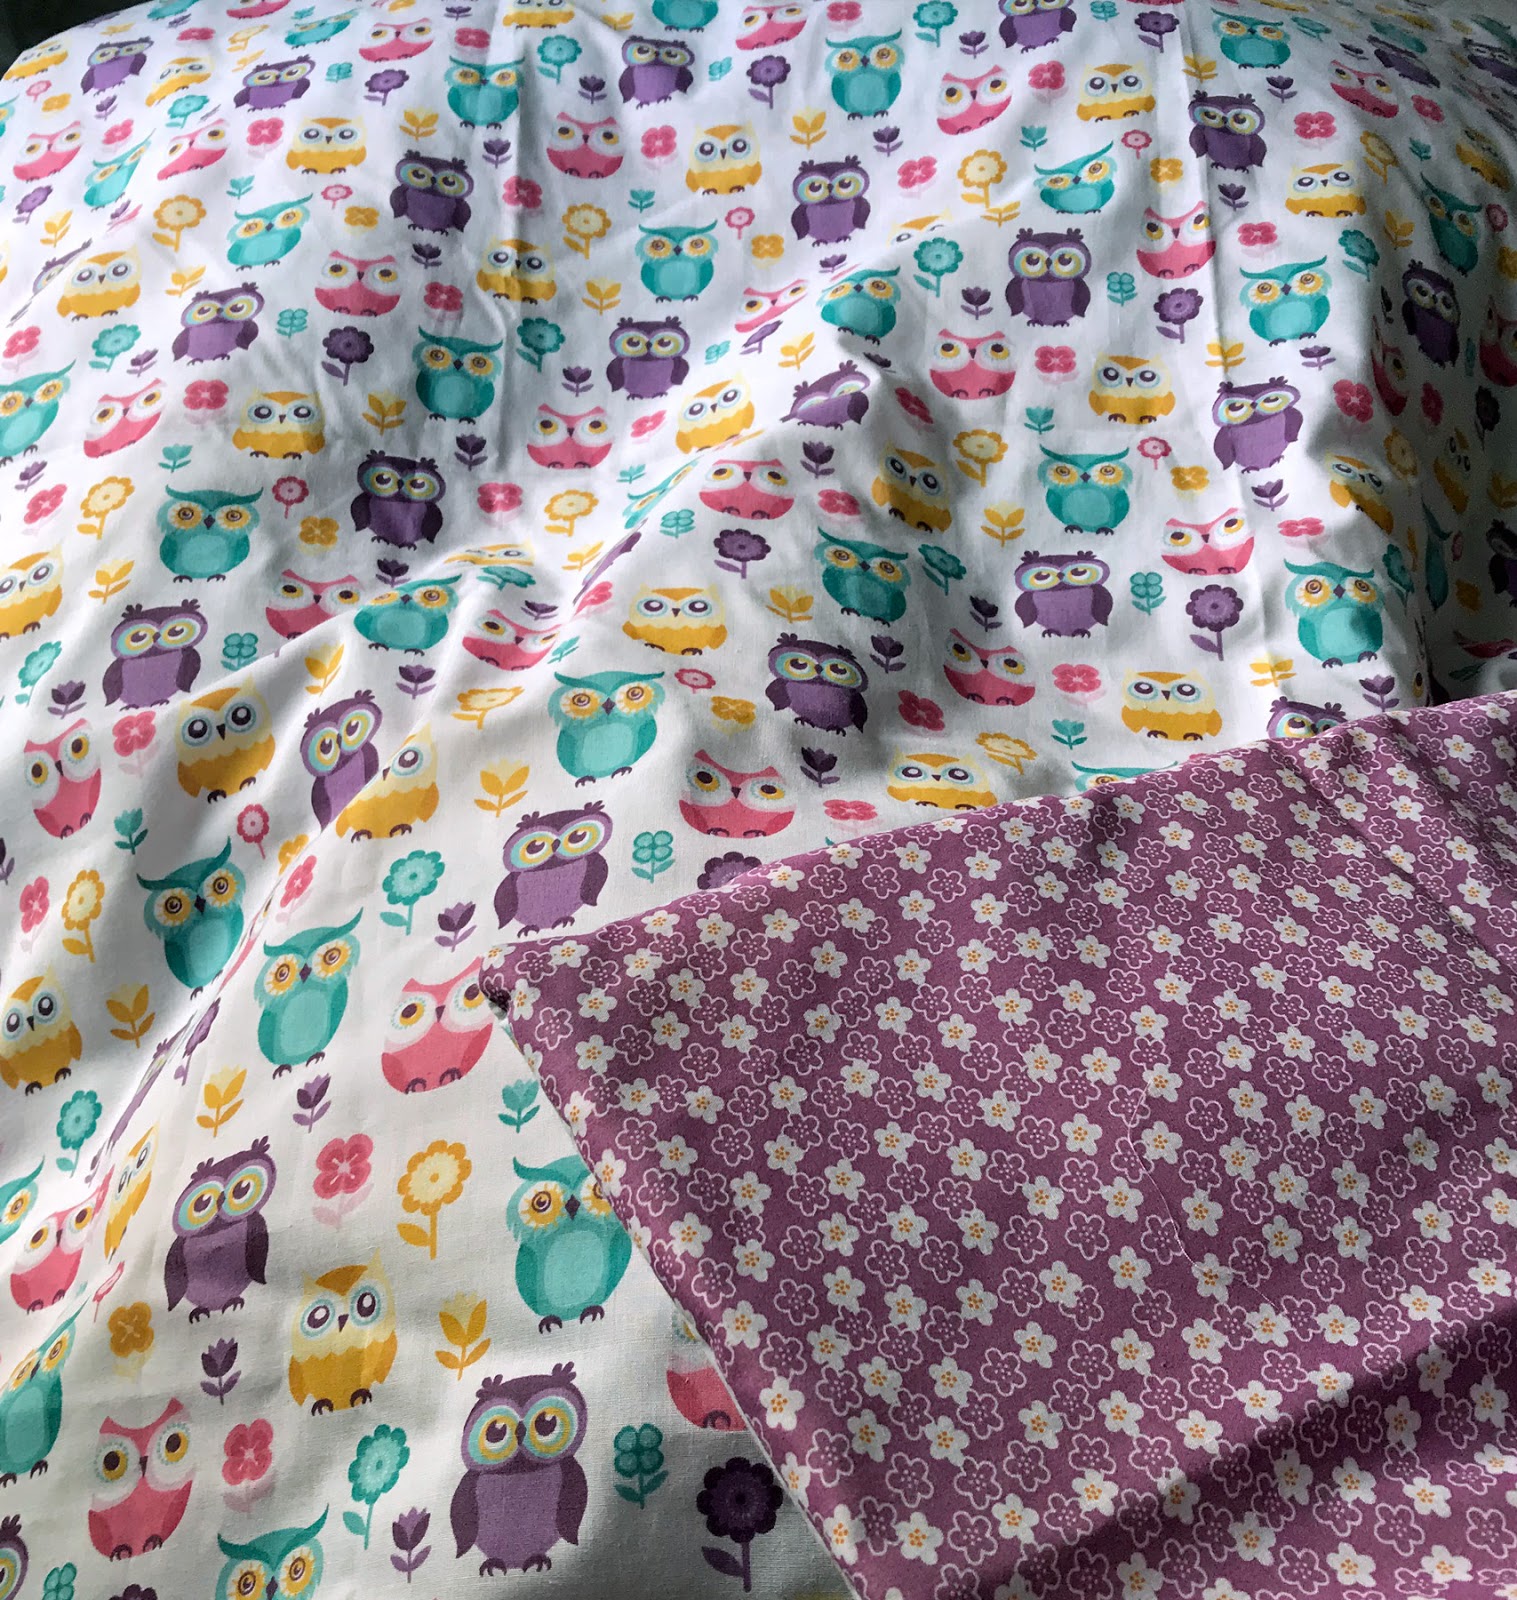
The two pieces of fabric were 1.5m long by the standard 114cm width. (That's just over a yard and a half by 44-45".) One was more obviously going to be the backing (owls on the front!).
I laid them right sides together on top of my wadding (after that had been tacked together into the right shape and size) and pinned all the way through, apart from a gap of about 30cm on one side. I sewed all round apart from the gap, on the top fabric. (Sewing directly into wadding is liable to catch on the needle, and although it can snarl up a bit on the fed dogs, that's usually less of a problem.) I then clipped the corners and turned it all inside out through the gap. Having limited time, I just over-sewed up the gap, turning in the edges, and ensuring I caught the wadding in the line of stitches. Overall this quilt took about an hour and a half to make including cutting out; if you had a full piece of wadding that didn't need piecing, you could complete this in an hour. As you can see, the quick fix stitching up of the gap was a bit crude - they were all but knocking on the door at this point.

Last time I made a quilt this way. I was much more careful about sewing up the gap, and I over-sewed all the way round to keep the edges stable. I also sewed some cross rows to stop the wadding shifting or becoming lumpy. I will probably do that after the child has used it and gone home, as I think it is better with some cross rows. But just ran out of time beforehand.
I slightly regret now that I didn't check before I did this, which would be the top (i.e. head end) of the quilt (as one of the fabrics was uni-directional), and it turned out I left the gap at the top. Because I only had time to sew up this gap quite crudely, it meant that the crudely sewn up gap was at the top. Not ideal.
However, the final effect was fine, and Fleur was pretty pleased with her new quilt. (Only problem was that younger sister, who had a new teddy bear quilt a year ago, wanted to know where her new quilt was, too!)
No comments:
Post a Comment